
This year is supposed to be big for Virtual Reality as the Oculus Rift is finally going to be available for consumers.
Learning to build 3D environments is not easy though, it takes a lot of time and practice. Also, with a price of around $600, it is not going to be accessible to everyone.
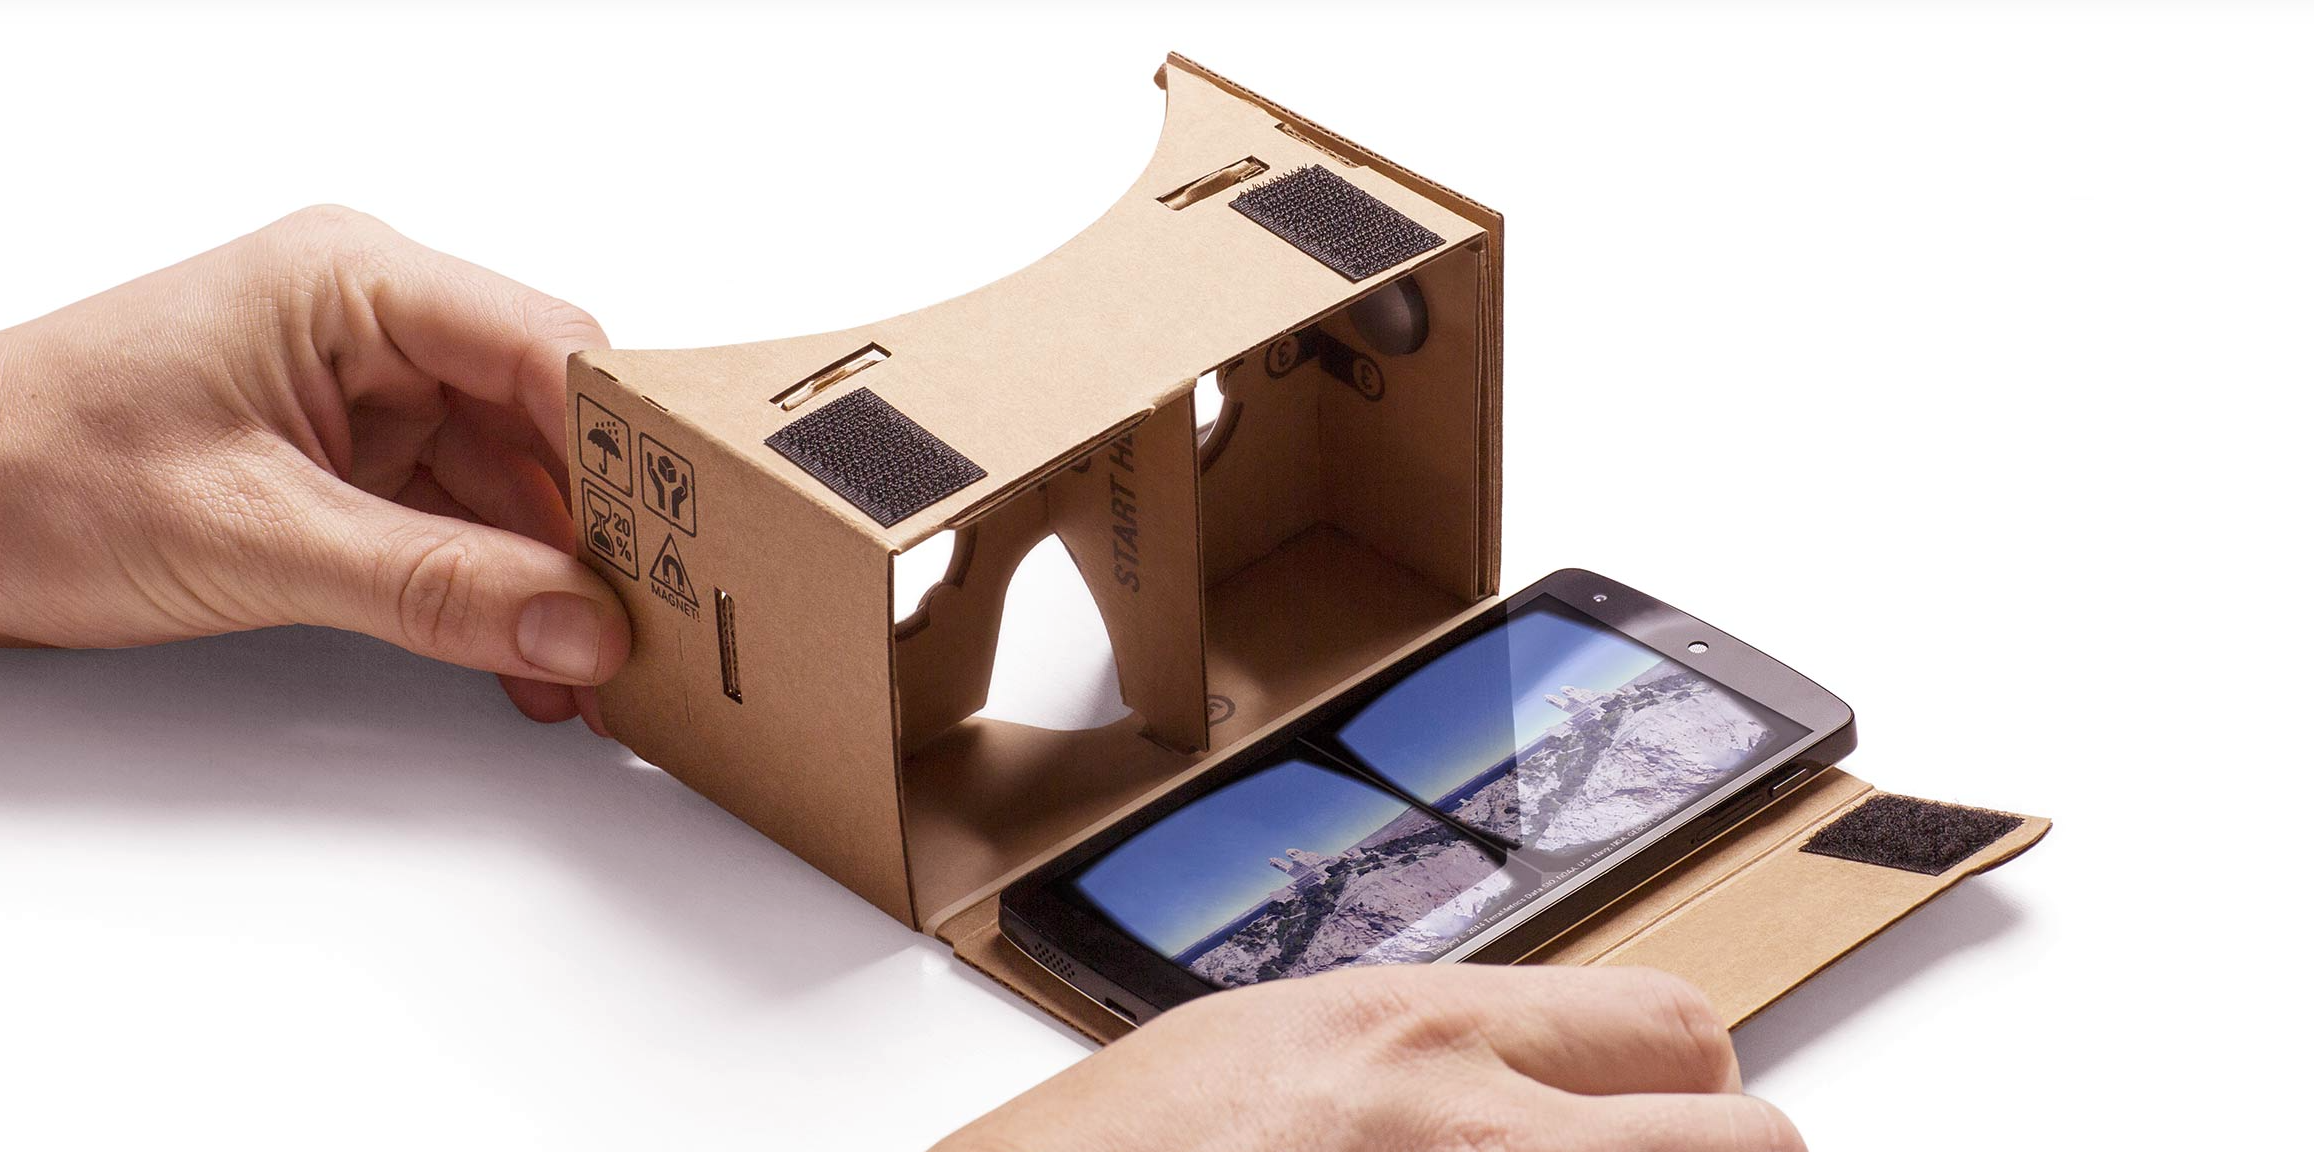
However, there is another alernative! The Three.JS library offers the opportunity to create some VR effect on the web, so you can create your own VR experience, visit your webpage on your phone, insert it in a Google Cardboard, and you have a low-cost VR headset!
If you’re not familiar with Three.js, it is a JavaScript library that allows you to create 3D graphics in the browser (basically a simpler WebGL). It’s very powerful and once you get comfortable with it, you can create very amazing stuff!
During the holidays, I gave it a try and built a basic VR experiment of flying over a procedural city.

If you’d like to reproduce something similar, you can follow the steps below or you can check the full code on Github.
To get started, you need to import the framework itself. Either through cdnjs or by adding the file to your project folder.
1
2  // in your index.html file
  <script src="https://cdnjs.cloudflare.com/ajax/libs/three.js/r73/three.min.js"></script>
You’ll also need to add a few other files to generate the procedural city, add the flying controls, the Device Orientation Controls for mobile and the VR effect. (I’m actually using the SteroEffect in this tutorial, but Three.js also has another library called VREffect that i’ll be trying next)
1
2
3
4
5  // in your index.html file, below the three.js script link
  <script src="https://raw.githubusercontent.com/jeromeetienne/threex.proceduralcity/master/threex.proceduralcity.js"></script>
  <script src="https://raw.githubusercontent.com/mrdoob/three.js/master/examples/js/controls/FirstPersonControls.js"></script>
  <script src="https://raw.githubusercontent.com/mrdoob/three.js/master/examples/js/controls/DeviceOrientationControls.js"></script>
  <script src="https://raw.githubusercontent.com/mrdoob/three.js/master/examples/js/effects/StereoEffect.js"></script>
Once this is done, we can start by creating a container div in the body of the html that will be used to render everything on the page:
1
<div id="container"></div>
The rest of the code will have to live in a script tag. It’s better practice to separate the JavaScript from the html and to create an index.js file but for the purpose of this tutorial, I just added the JavaScript code internally.
We start by declaring a few variables and call functions we’ll write later:
1
2
3
4
5
6
7
8    var camera, scene, renderer;
  var effect, controls;
  var element, container;

  var clock = new THREE.Clock();

  init();
  animate();
The details of the init() function comes below. I added comments in the code to explain what each line does:
1
2
3
4
5
6
7
8
9
10
11
12
13
14
15
16
17
18
19
20
21
22
23
24
25
26
27
28
29
30
31
32
33
34
35
36
37
38
39
40
41
42
43
44
45
46
47
48
49
50
51
52
53
54
55
56
57
58
59
60
61
62
63
64
65
66
67  function init(){
    // Creates a Three.js scene.
    scene = new THREE.Scene();

    // Add some fog (not necessary);
    scene.fog	= new THREE.FogExp2( 0xd0e0f0, 0.0025 );

    // Creates a renderer, sets its size and appends everything to the container div.
    renderer = new THREE.WebGLRenderer();
    renderer.setSize( window.innerWidth, window.innerHeight );
    element = renderer.domElement;
    container = document.getElementById('container');
    container.appendChild(element);

    // Creates a camera, sets its position and adds it to the scene.
    camera = new THREE.PerspectiveCamera(90, window.innerWidth/window.innerHeight, 0.01, 3000);
    camera.position.set(-500, 100, -200);
    scene.add(camera);

    // Creates the Stereo Effect for the VR experience.
    effect = new THREE.StereoEffect(renderer);

    // Adds some light, sets its position and adds it to the scene.
    var light = new THREE.HemisphereLight(0xfffff0, 0x101020, 1.5);
    light.position.set( 0.75, 1, 0.25 );
    scene.add(light);

    // Creates the platform that will be beneath all buildings.
    var material	= new THREE.MeshBasicMaterial({ color: 0x101018 })
    var geometry	= new THREE.PlaneGeometry( 2000, 2000 )
    var plane	= new THREE.Mesh( geometry, material );
    plane.rotation.x= - 90 * Math.PI / 180;
    scene.add( plane );

    // Creates the procedural city and adds it to the scene.
    var city = new THREEx.ProceduralCity()
    scene.add(city)

    // Adds some control so you can move through the scene using the mouse or keyboard.
    controls = new THREE.FirstPersonControls( camera );
    controls.movementSpeed	= 20;
    controls.lookSpeed	= 0.05;
    controls.lookVertical	= true;

    // Adds different controls if seen on mobile.
    function setOrientationControls(e) {
      // If device orientation is not available, return.
      if (!e.alpha) {
        return;
      }

      // Create controls for mobile.
      controls = new THREE.DeviceOrientationControls(camera, true);
      controls.connect();
      controls.update();

      element.addEventListener('click', fullscreen, false);

      window.removeEventListener('deviceorientation', setOrientationControls, true);
    }
    window.addEventListener('deviceorientation', setOrientationControls, true);

    //Resize page.
    window.addEventListener('resize', resize, false);
    setTimeout(resize, 1);

  }
The rest of the code handles resizing, updating the controls and camera, rendering, animating and requesting fullscreen.
1
2
3
4
5
6
7
8
9
10
11
12
13
14
15
16
17
18
19
20
21
22
23
24
25
26
27
28
29
30
31
32
33
34
35
36
37
38
39
40
41
42
43    // on resize of the window, check the width and height of the container div and update the camera and rendering.
    function resize() {
      var width = container.offsetWidth;
      var height = container.offsetHeight;

      camera.aspect = width / height;
      camera.updateProjectionMatrix();

      renderer.setSize(width, height);
      effect.setSize(width, height);
    }

    // update the resizing and controls.
    function update(dt) {
      resize();

      camera.updateProjectionMatrix();

      controls.update(dt);
    }

    function render(dt) {
      effect.render(scene, camera);
    }

    function animate(t) {
      requestAnimationFrame(animate);

      update(clock.getDelta());
      render(clock.getDelta());
    }

    function fullscreen() {
      if (container.requestFullscreen) {
        container.requestFullscreen();
      } else if (container.msRequestFullscreen) {
        container.msRequestFullscreen();
      } else if (container.mozRequestFullScreen) {
        container.mozRequestFullScreen();
      } else if (container.webkitRequestFullscreen) {
        container.webkitRequestFullscreen();
      }
    }
And that’s basically it for the code!

Of course, there is still a lot to do to get to a nice demo! But to get started, that’s it :)
If you want to test it on your phone without having to publish your code, you can use ngrok to share your localhost.
Once again, if you want to get the full code, everything is on Github!